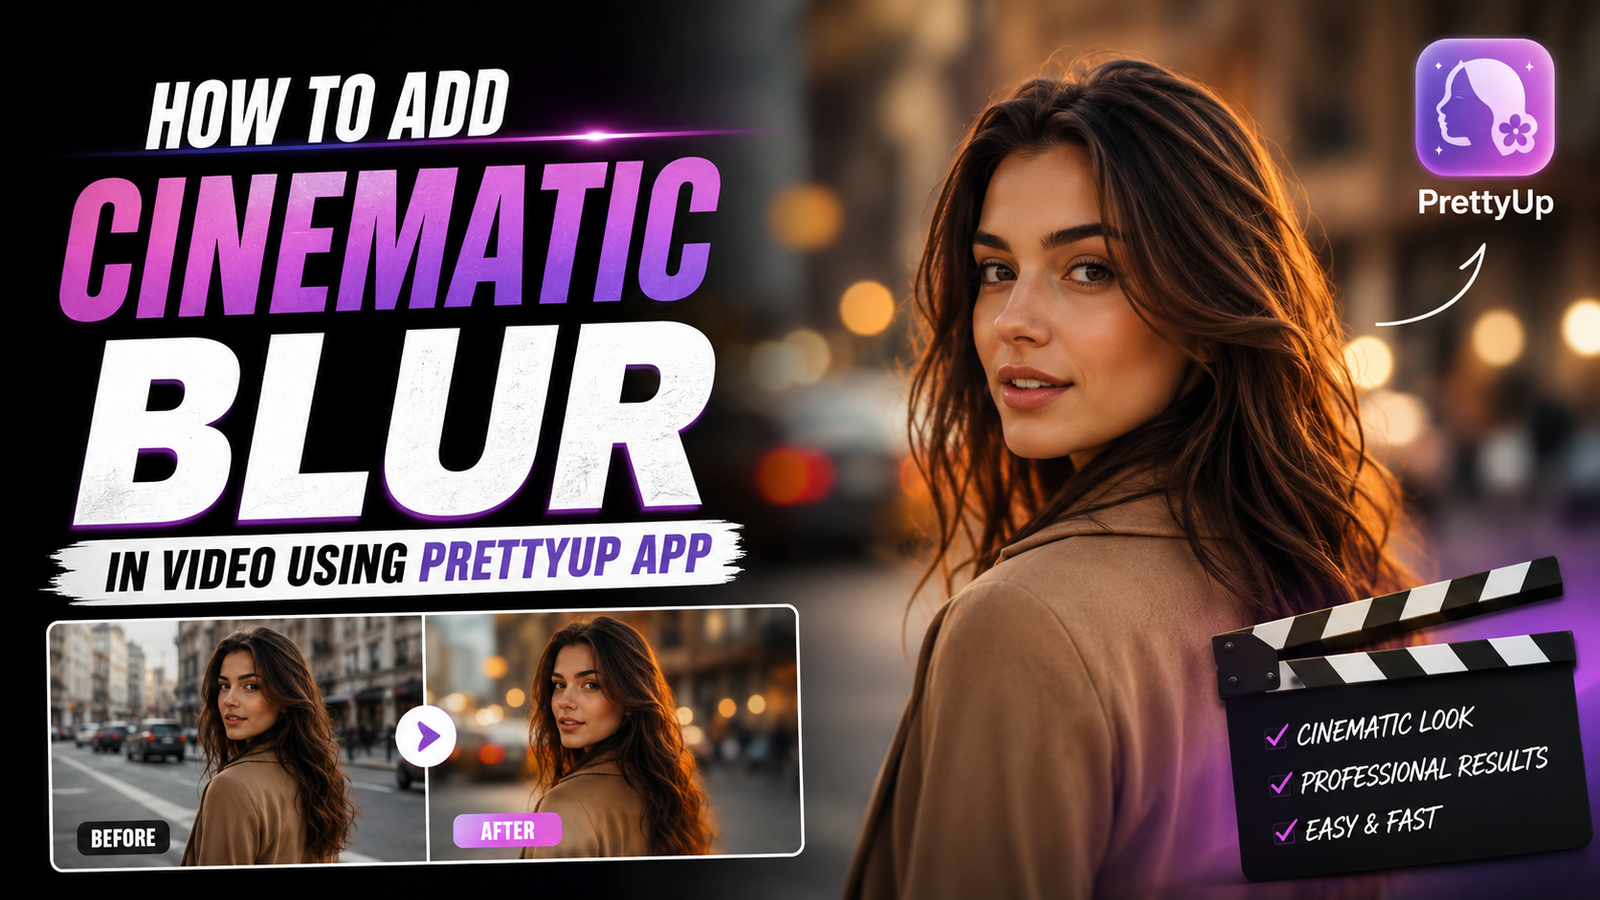
A few months ago, I was scrolling through Instagram Reels and noticed something interesting. Many creators were posting videos with a beautiful blurred background that looked almost like it was shot on an expensive DSLR camera. The subject stayed sharp and clear while the background had that smooth cinematic blur that instantly made the video look professional.
At first, I assumed these creators were using costly cameras or advanced editing software. But after experimenting with several mobile editing apps, I discovered that the PrettyUp app can create a very similar cinematic blur effect directly from a smartphone.
I tested it on a few travel clips and portrait videos, and honestly, the results surprised me. Some videos looked significantly better with just a few adjustments. If you’ve been wondering how to add cinematic blur to your videos using PrettyUp, this guide will walk you through the entire process.
What Is Cinematic Blur?
Before jumping into the editing steps, it’s helpful to understand what cinematic blur actually does.
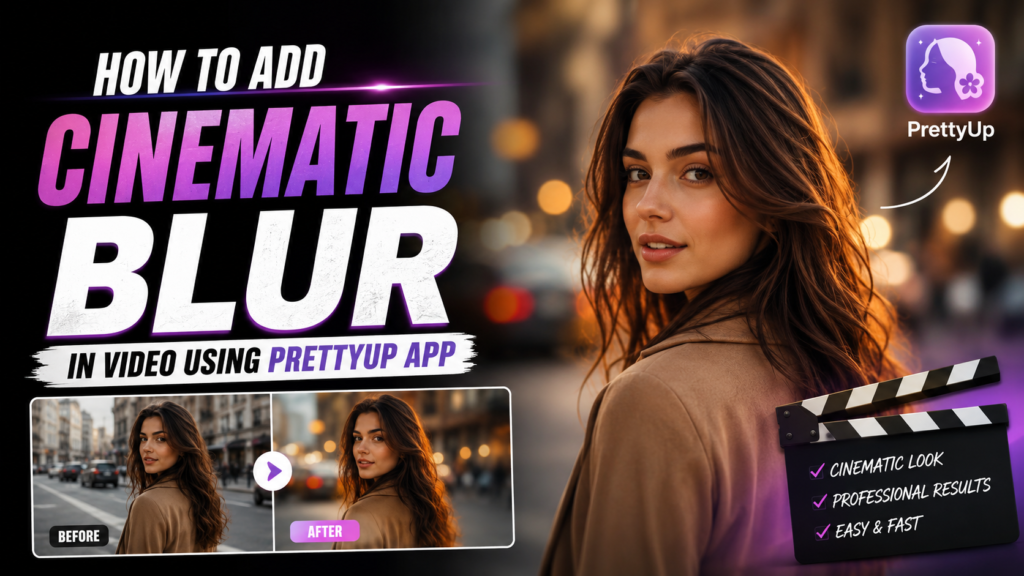
Cinematic blur creates a shallow depth-of-field effect. This means the main subject remains in focus while the background appears softly blurred. This effect naturally draws the viewer’s attention to the subject and gives the footage a more polished and professional appearance.
Professional cameras achieve this using large sensors and expensive lenses. Apps like PrettyUp use AI technology to simulate a similar effect on videos recorded with smartphones.
Why I Started Using PrettyUp
I’ve tried several mobile editing applications over the years. Some were too complicated, while others produced unrealistic blur effects that looked obviously fake.
PrettyUp stood out because:
- The interface is beginner-friendly.
- The blur effect can be adjusted easily.
- It works well for portrait videos.
- No advanced editing skills are required.
- Most edits can be completed within a few minutes.
For social media creators, this can save a lot of time compared to editing on a computer.
Downloading and Installing PrettyUp
If you don’t already have the app, install PrettyUp from your device’s app store.
The app is available for both Android and iPhone users. Make sure you’re downloading the official version to access the latest editing features and updates.
Once installed, open the app and allow the necessary permissions to access your photos and videos.
Step-by-Step: Add Cinematic Blur in Video Using PrettyUp
Let’s go through the process exactly as I usually do it.
Step 1: Open PrettyUp
Launch the PrettyUp app on your smartphone.
The home screen will display several editing options including photo editing and video editing tools.
Select the Video Editing option.
Step 2: Import Your Video
Tap the import button and choose the video you want to edit.
For best results, use videos where:
- The subject is clearly visible.
- Lighting is decent.
- The background is separated from the subject.
The AI blur feature works more accurately when the subject stands out from the surroundings.
Step 3: Find the Blur Tool
After importing the video, browse through the editing menu.
Depending on the app version, the blur feature may appear under:
- Background
- Portrait
- Blur
- AI Effects
Select the blur option to continue.
Step 4: Apply Background Blur
PrettyUp automatically detects the person or main subject in many videos.
Once detected, the app applies blur to the background while keeping the subject in focus.
The first time I tested this feature, I expected rough edges around the subject. Surprisingly, the AI detection handled hair and body outlines much better than I anticipated.
Step 5: Adjust Blur Strength
This is where most users make mistakes.
Many people immediately push the blur slider to the maximum level. While it might look impressive initially, excessive blur often makes the video appear unnatural.
Instead:
- Start with a low blur value.
- Gradually increase it.
- Preview the results frequently.
I usually keep the blur strength somewhere in the middle range because it provides a realistic cinematic appearance.
Step 6: Fine-Tune the Video
After applying blur, you can improve the overall quality further.
Consider adjusting:
Brightness
A slight increase can make the subject stand out more.
Contrast
Adds depth and makes the footage feel richer.
Saturation
Boost colors carefully without making them look unrealistic.
Sharpness
A small amount of sharpness helps maintain focus on the subject.
These minor adjustments often make a bigger difference than people expect.
Step 7: Preview the Entire Video
Before exporting, watch the entire clip.
Look for:
- Incorrect subject detection
- Blur glitches
- Sudden focus changes
- Lighting inconsistencies
I always do a full preview because small issues are easier to notice when viewing the complete video rather than a short section.
Step 8: Export the Video
Once you’re satisfied with the results:
- Tap Export or Save.
- Choose your preferred resolution.
- Select the desired frame rate.
For Instagram Reels, TikTok, and YouTube Shorts, I typically export in Full HD (1080p) for a good balance between quality and file size.
Best Videos for Cinematic Blur Effects
Not every video benefits equally from background blur.
The effect works particularly well for:
Portrait Videos
When a person is speaking or posing in front of the camera.
Travel Clips
Highlighting yourself while keeping busy locations softly blurred.
Fashion Content
Making outfits stand out from distracting backgrounds.
Lifestyle Reels
Creating a cleaner and more professional visual style.
Product Showcases
Directing attention toward the featured product.
Common Mistakes to Avoid
After experimenting with many videos, I’ve noticed several mistakes beginners often make.
Using Too Much Blur
More blur doesn’t always mean better results.
Overdoing it can make the video look artificial and reduce overall quality.
Poor Lighting
AI-based blur tools perform better when subjects are clearly visible.
Dark footage can lead to inaccurate subject detection.
Ignoring Video Quality
Starting with low-quality footage limits the final result.
Always record videos at the highest quality your device supports.
Editing Too Many Effects Together
Some users combine blur, heavy filters, excessive sharpening, and intense color grading all at once.
The result usually looks over-edited.
Keep things simple and focus on achieving a natural appearance.
Tips for Better Cinematic Results
Here are a few tricks I’ve learned through trial and error.
Keep Some Distance from the Background
When recording, try to stand a few feet away from the background.
This helps both the camera and the editing app create a more convincing depth effect.
Use Natural Light
Outdoor lighting often produces the cleanest results.
Soft morning or evening light works especially well.
Stabilize Your Footage
Shaky videos can reduce the effectiveness of blur effects.
Use:
- A tripod
- A phone stabilizer
- Both hands while recording
Record in High Resolution
Even if you’re posting on social media, high-resolution footage provides more editing flexibility.
Is PrettyUp Good for Social Media Creators?
Based on my experience, yes.
PrettyUp is especially useful for:
- Instagram creators
- TikTok users
- YouTube Shorts creators
- Lifestyle influencers
- Travel content creators
- Fashion enthusiasts
The app allows users to achieve a more premium visual style without investing in expensive camera equipment.
While it won’t completely replace professional cameras, it can dramatically improve the appearance of smartphone videos.
My Honest Experience After Using PrettyUp
When I first installed PrettyUp, I expected a basic blur filter. What I found was much more useful than that.
The AI-powered background blur feature worked surprisingly well on portrait videos and social media content. The biggest improvement came from learning not to overuse the effect. Once I started applying blur more subtly, my videos looked cleaner, more professional, and much more engaging.
For anyone creating short-form content and wanting that cinematic look without complicated editing software, PrettyUp is definitely worth trying. A few minutes of editing can transform an ordinary smartphone video into something that feels far more polished and visually appealing.