Sometimes you click a really good photo, but the sky ruins everything.
Maybe the weather was cloudy. Maybe the sky looked completely white. Or sometimes it just feels boring and lifeless.
I have seen that many people spend hours editing colors and brightness, but they forget one simple thing—the sky. A beautiful sunset or a clean blue sky can completely change the look of a photo.
The good news is that you don’t need Photoshop or any expensive software. With the Lightleap app, you can replace a dull sky with an amazing sunset or bright blue sky in just a few taps.
I have been testing mobile editing apps for a long time, and honestly, Lightleap is one of the easiest apps for this kind of editing.
Let’s see how you can do it.
What is Lightleap?
Lightleap is a photo editing app that comes with an AI Sky feature. This tool automatically detects the sky in your photo and replaces it with another one.
The best part is that you don’t need to manually cut or select the sky area. The app does most of the work for you.
You can choose:
- Sunset skies
- Blue skies
- Golden hour skies
- Cloudy skies
- Dramatic skies
- Night skies
Even beginners can use it without any problem.
Why People Love Sky Replacement

A good sky can make photos look:
- More professional
- More colorful
- More attractive on Instagram
- More cinematic
- More eye-catching
Many people try this but they often overdo it. A super dramatic sky on a simple photo can look fake.
My suggestion is to choose a sky that matches the lighting of your original photo.
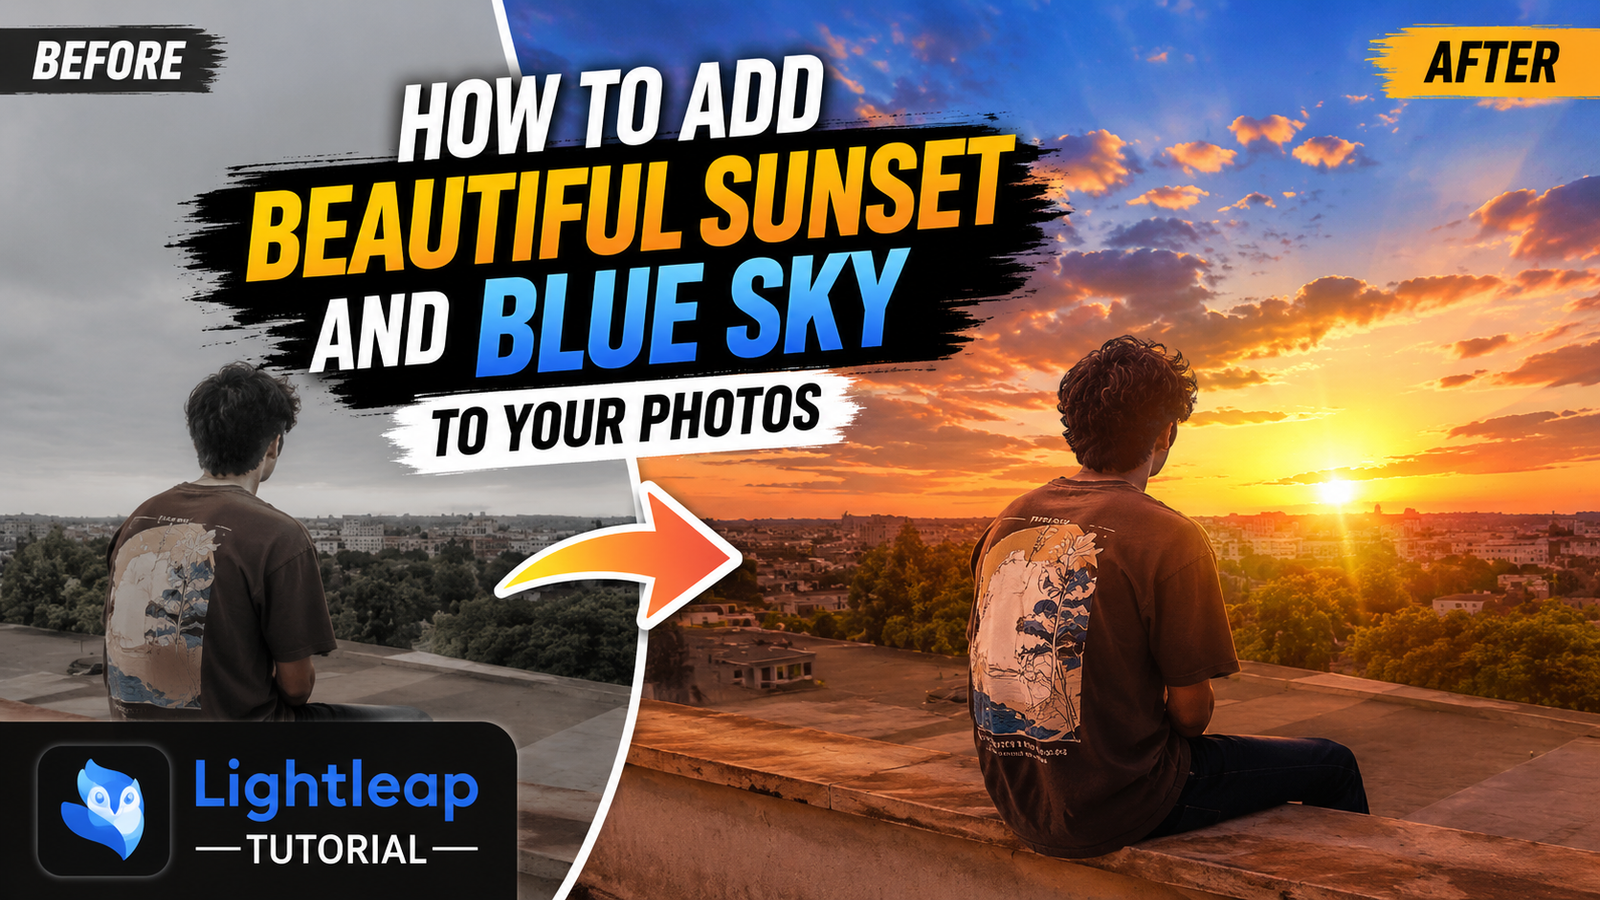
Step-by-Step: Add a Beautiful Sunset Sky
Step 1: Open Lightleap
Install and open the Lightleap app on your phone.
Now select the photo you want to edit.
Try using a photo where the sky is clearly visible. The results are usually better.
Step 2: Select the Sky Tool

After opening your photo, look for the Sky option.
Tap on it.
The app will automatically detect the sky area in your image.
This usually takes only a few seconds.
Step 3: Choose a Sunset Sky


Now you will see many sky categories.
Choose a sunset style that you like.
You can try:
- Orange sunset
- Golden sunset
- Pink sunset
- Dramatic evening sky
Tap on different options and preview them.
Sometimes the first option is not the best one. I usually test 4–5 skies before choosing the final look.
Step 4: Adjust the Effect
Once you select the sky, Lightleap gives some adjustment controls.
You can change:
- Brightness
- Intensity
- Temperature
- Fade
- Blend
Keep the settings natural.
Sometimes it doesn’t work perfectly, and that’s okay. Just reduce the intensity a little and the photo will look much more realistic.
Step 5: Save the Photo
When you’re happy with the result, tap Save.
Your sunset photo is ready.
It takes less than two minutes once you get used to the process.
How to Add a Beautiful Blue Sky

The process is almost the same.
Step 1
Open your image inside Lightleap.
Step 2
Tap the Sky tool.
Step 3
Choose a blue sky preset.
You will find several options with:
- Soft clouds
- Bright blue sky
- Deep blue sky
- Summer sky
Step 4
Adjust brightness and blending.
For daytime photos, blue skies usually look more realistic than dramatic sunset skies.
Step 5
Save the final image.
Done.
Tips for Better Results
Here are some simple tricks I personally follow:
Use Outdoor Photos
Sky replacement works best when the original photo was taken outdoors.
Match the Lighting
If your photo was shot during the day, don’t use a very dark sunset sky.
The lighting should look natural.
Don’t Increase Intensity Too Much
A common mistake is using maximum intensity.
The photo starts looking fake.
Around 60–80% usually works nicely.
Check the Edges
Zoom in and check trees, buildings, and hair.
If something looks odd, adjust the blend settings.
Try Multiple Skies
Don’t settle for the first sky you see.
Sometimes the fifth option looks much better than the first one.
Is Lightleap Good for Beginners?
Yes, absolutely.
One thing I really like is that the app keeps everything simple.
You don’t need editing experience.
You don’t need complicated masking tools.
Just select a sky, adjust a few settings, and save.
For quick Instagram photos, travel pictures, and portrait shots, it works surprisingly well.
Final Thoughts
A beautiful sky can completely transform an average photo into something eye-catching.
Whether you want a warm sunset look or a bright blue sky, Lightleap makes the process very easy. Just remember not to over-edit. Natural-looking photos almost always get better reactions than heavily edited ones.
Try a few different skies, play with the settings, and see what matches your photo best. After a few edits, you’ll start getting a feel for what looks realistic and what doesn’t.
FAQs
1. Is Lightleap free to use?
Lightleap offers some free features, but certain sky effects and tools may require a premium subscription.
2. Does sky replacement work on all photos?
No. Photos with clear visible skies usually give the best results. Indoor photos may not work well.
3. Can I add sunset and blue skies on Android and iPhone?
Yes. Lightleap is available for both Android and iPhone users.