
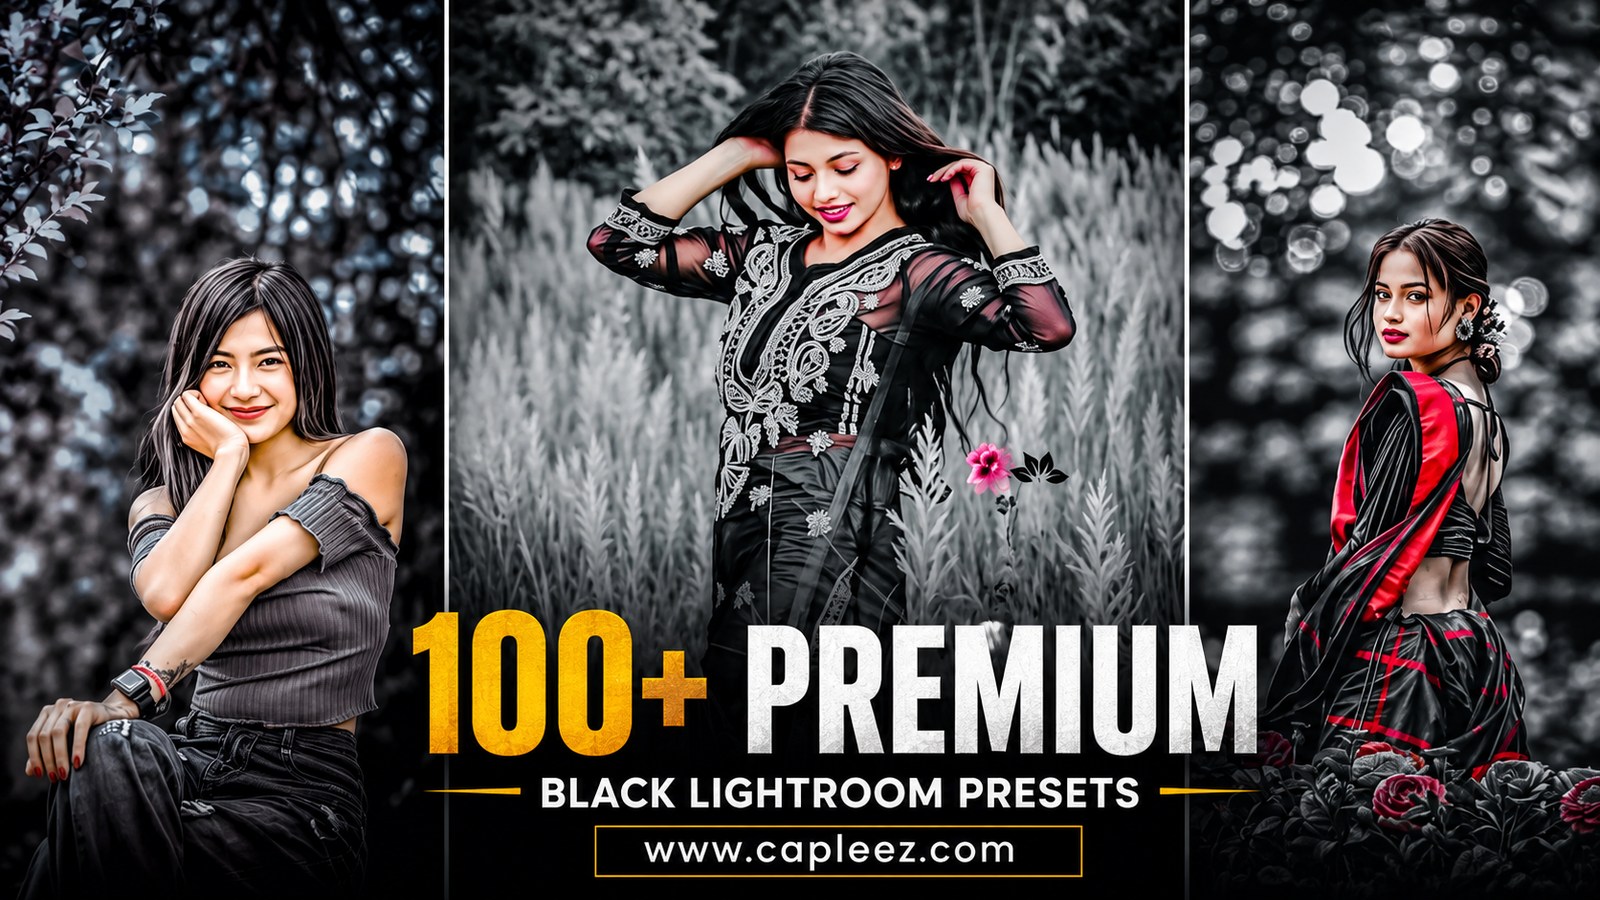
A months ago, I was scrolling through Instagram & Tiktok and noticed that many creators were using the same dark, cinematic editing style. The photos had deep blacks, rich contrast, and a premium look that instantly grabbed attention. Naturally, I wanted to recreate that style for my own photos.
At first, I spent hours adjusting exposure, contrast, shadows, and color grading manually inside Lightroom. Sometimes the image looked amazing, but most of the time I ended up with overly dark photos that lost important details. That’s when I started experimenting with Black Lightroom Presets.
After testing dozens of preset packs on different photos, I realized that a good black preset can save an incredible amount of editing time while giving your images a professional appearance.
What Are Black Lightroom Presets?
Black Lightroom Presets are pre-made editing settings designed to create a dark, moody, and high-contrast look. Instead of manually adjusting every slider, you can apply a preset with a single tap and instantly transform your photo.
These presets are especially popular for:
- Portrait photography
- Street photography
- Car photography
- Travel photos
- Fashion content
- Instagram posts and reels
The best part is that you can still customize the settings after applying the preset.
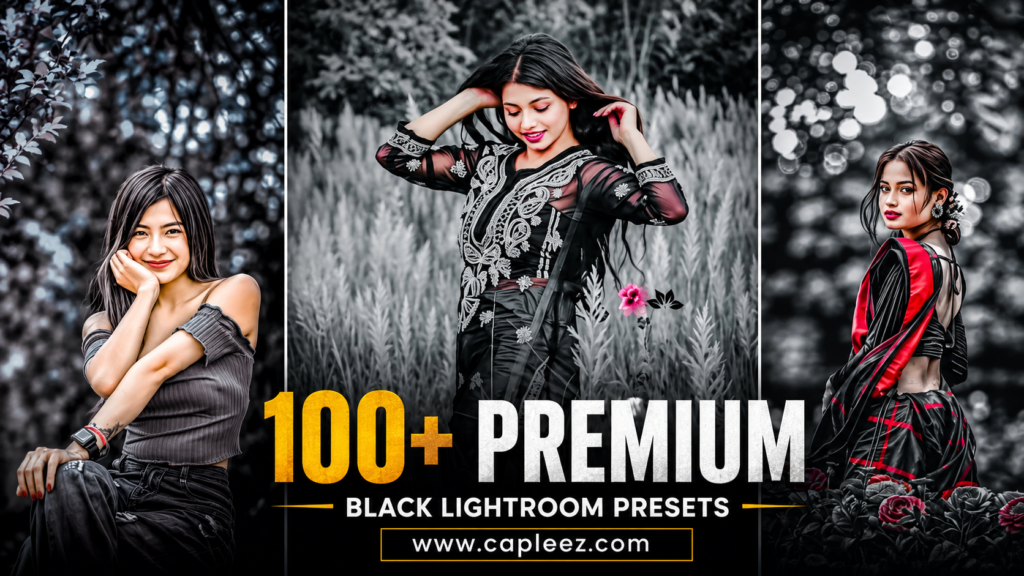
What’s Included in This 100+ Premium Preset Collection?
This collection contains more than 100 premium-style black presets inspired by popular editing trends used by photographers and content creators.
Some common styles include:
- Matte Black Presets
- Dark Moody Presets
- Cinematic Black Tones
- Urban Street Looks
- Black & Gold Effects
- High Contrast Portrait Presets
- Luxury Lifestyle Presets
- Dark Travel Presets
- Night Photography Presets
- Black Fashion Editing Presets
These presets work particularly well on photos with good lighting and sharp details.
My Experience Using Black Presets
One thing I learned quickly is that presets are not magic buttons.
When I first started using them, I applied the same preset to every image and expected perfect results. Instead, some photos became too dark while others looked washed out.
The biggest lesson was understanding that every photo is different.
For example:
- Outdoor photos usually need slight exposure adjustments.
- Portraits may require skin tone corrections.
- Night photos often benefit from reduced contrast.
Once I started making small tweaks after applying the preset, the results improved dramatically.
How to Use Lightroom Presets
If you’re new to Lightroom, don’t worry. The process is surprisingly simple.
Step 1: Install Lightroom
Download the Lightroom mobile app from your device’s app store or use the desktop version on your computer.
Step 2: Import the Presets
Open Lightroom and import the preset files into your library.
Step 3: Open Your Photo
Choose the image you want to edit.
Step 4: Apply the Preset
Select your preferred black preset and apply it.
Step 5: Fine-Tune the Image
Adjust:
- Exposure
- Highlights
- Shadows
- White Balance
- Saturation
These small adjustments can make a huge difference.
Step 6: Export the Final Photo
Save your edited image in high quality and share it on your favorite platform.
Best Photos for Black Lightroom Presets
Through trial and error, I’ve found that black presets work best on:
Portraits
They add depth and create a professional studio-like appearance.
Cars and Bikes
Dark tones enhance reflections and body lines.
City Photography
Street lights, buildings, and urban backgrounds often look fantastic with moody edits.
Travel Images
Mountains, roads, and dramatic skies gain extra atmosphere.
Fashion Photography
Dark edits often create a luxury and premium aesthetic.
Common Mistakes to Avoid
Applying Presets Without Adjustments
Every photo has different lighting conditions. Always make small edits after applying a preset.
Overusing Contrast
Too much contrast can remove important details from shadows.
Ignoring White Balance
Even great presets can look strange if the photo’s color temperature is off.
Using Low-Quality Photos
Presets perform best on clear, high-resolution images.
Exporting at Low Resolution
Always export in high quality to preserve details.
Why Creators Love Black Presets
Many content creators prefer dark edits because they create a consistent visual style across their profile.
A well-edited feed often looks more professional and helps photos stand out among hundreds of bright and heavily saturated posts.
Black presets are also versatile. Whether you’re editing selfies, travel shots, product photos, or cinematic images, they can provide a clean and polished look with minimal effort.
Are Premium Black Presets Worth Using?
From my experience, absolutely. They won’t replace editing skills, but they provide a solid starting point and significantly reduce editing time.
Instead of spending 10–15 minutes adjusting every slider, you can achieve a professional look within seconds and then make a few personal adjustments.
For beginners, they’re a great way to learn how professional color grading works. For experienced editors, they’re excellent time-saving tools.
Final Thoughts
If you’re looking to give your photos a darker, more cinematic appearance, a collection of 100+ Premium Black Lightroom Presets can be incredibly useful. I’ve used similar presets for portraits, travel photos, and social media content, and they’ve consistently helped me achieve cleaner, more professional-looking results.
Just remember: presets work best when used as a starting point rather than a one-click solution. Take a minute to adjust exposure, contrast, and color balance, and you’ll get results that look far more natural and personalized.
With a little experimentation, you’ll quickly discover which black presets fit your editing style and help your photos stand out in 2026.

Ok