

These days everyone wants their photos to look clean, bright, and a bit “pro level”. Even simple phone pictures. And honestly, Lightroom presets are the easiest shortcut for that.
Now in 2026, one thing people are talking about a lot is XMP presets. Especially those big packs like Top New 150 Lightroom XMP Presets. If you are into editing photos for Instagram, YouTube thumbnails, or just personal use, you have probably seen this trend already.
And yeah… it actually works well when you use it the right way.
What are Lightroom XMP presets in simple words?
Let’s keep it very simple.
A preset is basically a ready-made edit.
Instead of adjusting:
- brightness
- contrast
- colors
- shadows
- tones
…you just apply one preset and boom, your photo changes instantly.
XMP presets are mostly used in Lightroom desktop and also work in mobile (with some steps). These presets are like “filters”, but more powerful and more detailed.
I have seen that many beginners think presets are magic. They are not magic, but they save a lot of time. Sometimes they make even a normal photo look like a DSLR shot.obile editors because they save time and make editing much easier.
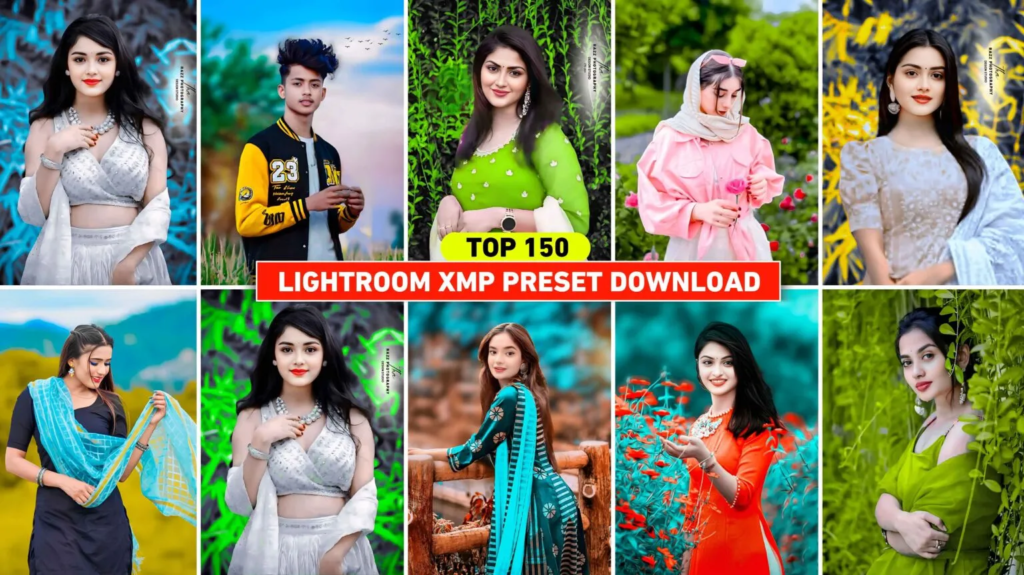
Why 150 presets pack is so popular?
Now you might think, why 150? Why not 10 or 20?
Simple answer: variety.
Different photos need different styles.
In a big pack like 150 Lightroom XMP presets, you usually get:
- cinematic tones
- moody dark edits
- bright aesthetic looks
- Instagram soft filters
- travel photography styles
- portrait glow effects
- vintage tones
- trendy 2026 styles
Many people try one preset and think it will work on every photo. But that’s not how it goes. Sometimes it looks perfect, sometimes not so good. And that’s totally normal.
How to use Lightroom XMP presets (simple steps)
If you are new, don’t worry. Just follow these easy steps.
Step 1: Download and import presets
First, download the XMP preset file pack. Then import it into Lightroom.
On mobile, you may need to use DNG files or sync through desktop. It sounds a bit tricky at first, but after doing it once, it becomes easy.
Step 2: Open your photo
Pick the photo you want to edit. It can be a selfie, landscape, or anything.
Step 3: Apply preset
Go to presets section and choose one from the pack. Tap it and see the change.
Sometimes the photo looks perfect instantly. Sometimes it needs small adjustments.
Step 4: Adjust a little (important part)
This is where many people stop, but small tweaks matter:
- exposure (light/dark)
- contrast
- warmth
- sharpness
Even 10% adjustment can improve the final result a lot.
Step 5: Save and export
Once you are happy, save the image in high quality and use it anywhere.
Real talk: do presets always work?
Not really.
I have seen people expecting every preset to turn their photo into a “wow” image. But lighting matters a lot.
For example:
- A preset made for sunny photos may look bad on dark indoor shots
- A cinematic preset may not suit a bright selfie
So yeah, sometimes it doesn’t work perfectly, and that’s okay. You just switch presets or adjust settings a bit.
Tips for better results (based on real use)
Here are some simple things I noticed while using presets:
1. Use good lighting photos
Presets work best when the original photo is clear. If the photo is too dark or blurry, even the best preset can’t fix everything.
2. Don’t over-edit
Many people keep adding filters on filters. That ruins the natural look. Keep it simple.
3. Try multiple presets
Don’t stick to one. A pack of 150 presets means you have options. Try different ones until something fits.
4. Match preset with mood
If your photo is happy and bright, don’t use a dark cinematic preset. It feels off.
5. Small manual tweaks help a lot
Even I noticed that tiny changes in brightness or contrast can completely change the result.
Why Lightroom presets are still trending in 2026
Even with so many AI tools around, presets are still popular. Why?
Because they are:
- fast
- easy
- beginner-friendly
- mobile friendly
- good for social media
Many content creators still use them daily. Especially Instagram editors and small creators.
And honestly, it saves a lot of time. Instead of editing for 15–20 minutes, you can finish in 1 minute.
Common mistakes people make
Let’s be real, many beginners do these mistakes:
- using wrong preset for photo
- not adjusting exposure
- expecting perfect results instantly
- downloading random low-quality presets
- over-editing colors
If you avoid these, your results will automatically improve.
Final thoughts
These Top New 150 Lightroom XMP Presets packs are actually useful if you like editing photos. They are not magic, but they make editing much easier.
Sometimes you’ll get amazing results, sometimes just “okay” results. That’s normal. The trick is learning how to adjust and mix things a little.
Once you understand that, editing becomes fun instead of confusing.
FAQs
1. Can I use XMP presets on Lightroom mobile?
Yes, you can use them, but sometimes you need to import through DNG or desktop sync.
2. Do presets work on every photo?
Not always. Lighting and photo quality matter a lot.
3. Are Lightroom presets good for beginners?
Yes, they are perfect for beginners because they save time and make editing easy.
6 Comments on “Top New 150 Lightroom XMP Presets | Lightroom Mobile XMP Presets 2026”