
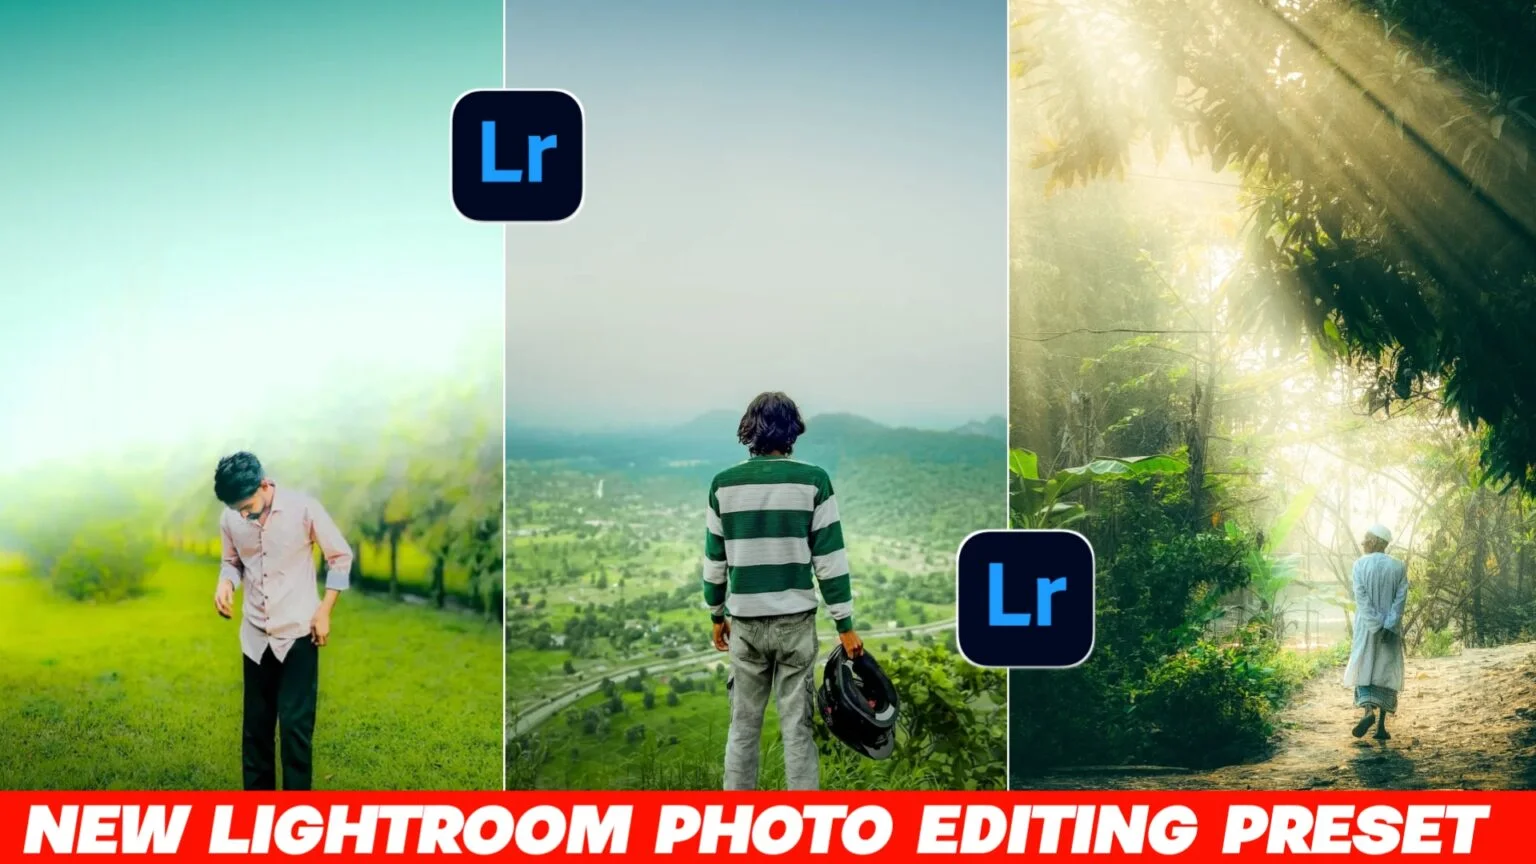
These days, everyone wants their photos to look more cinematic. You know that movie-style vibe… soft tones, deep colors, and a little dramatic feel. That’s exactly what a Lightroom cinematic preset does.
Honestly, I have seen so many people trying to get this look on Instagram and YouTube. Some get it right, some don’t really understand how it works. But once you get the idea, it becomes pretty simple.
And now in 2026, new Lightroom presets are getting even better. More natural colors, cleaner skin tones, and that proper “film look” everyone likes.
What is a Lightroom Cinematic Preset?
A Lightroom preset is basically a saved editing style. Instead of adjusting every setting manually, you just apply one preset and your photo changes instantly.
A cinematic preset is designed to give your photo a movie-like look. It usually adds:
- Soft contrast
- Moody shadows
- Slight warm or cool tones
- Clean highlights
- Smooth skin look
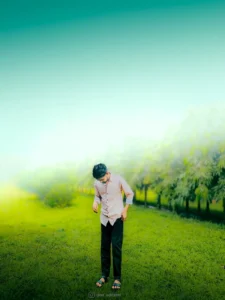
Many people use it for portraits, travel photos, and even random street shots. It just makes normal photos feel more “alive”.
I have noticed one thing… even a simple photo can look premium if the preset is good.
How to Use Lightroom Cinematic Preset (Simple Steps)
If you are new, don’t worry. It’s not complicated at all.
Step 1: Install Lightroom App
First, download Adobe Lightroom on your phone or PC. The mobile version is enough for most users.
Step 2: Import Your Photo
Open the app and add the photo you want to edit. Just pick from your gallery.
Step 3: Apply Preset
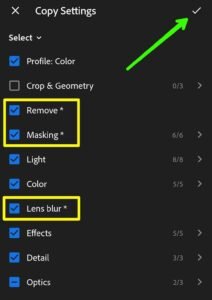
Now import the cinematic preset file (usually .DNG or .XMP format).
Once added, you can copy the settings or directly apply it.
Step 4: Adjust a Little
This step is important. Don’t skip it.
You might need to adjust:
- Brightness
- Contrast
- Exposure
- White balance
Every photo is different, so small changes make a big difference.
Step 5: Save the Photo
After everything looks good, just export it and save.
That’s it. Your cinematic photo is ready.ectly on every photo. Sometimes you still need small adjustments like exposure or warmth. And that’s totally normal.

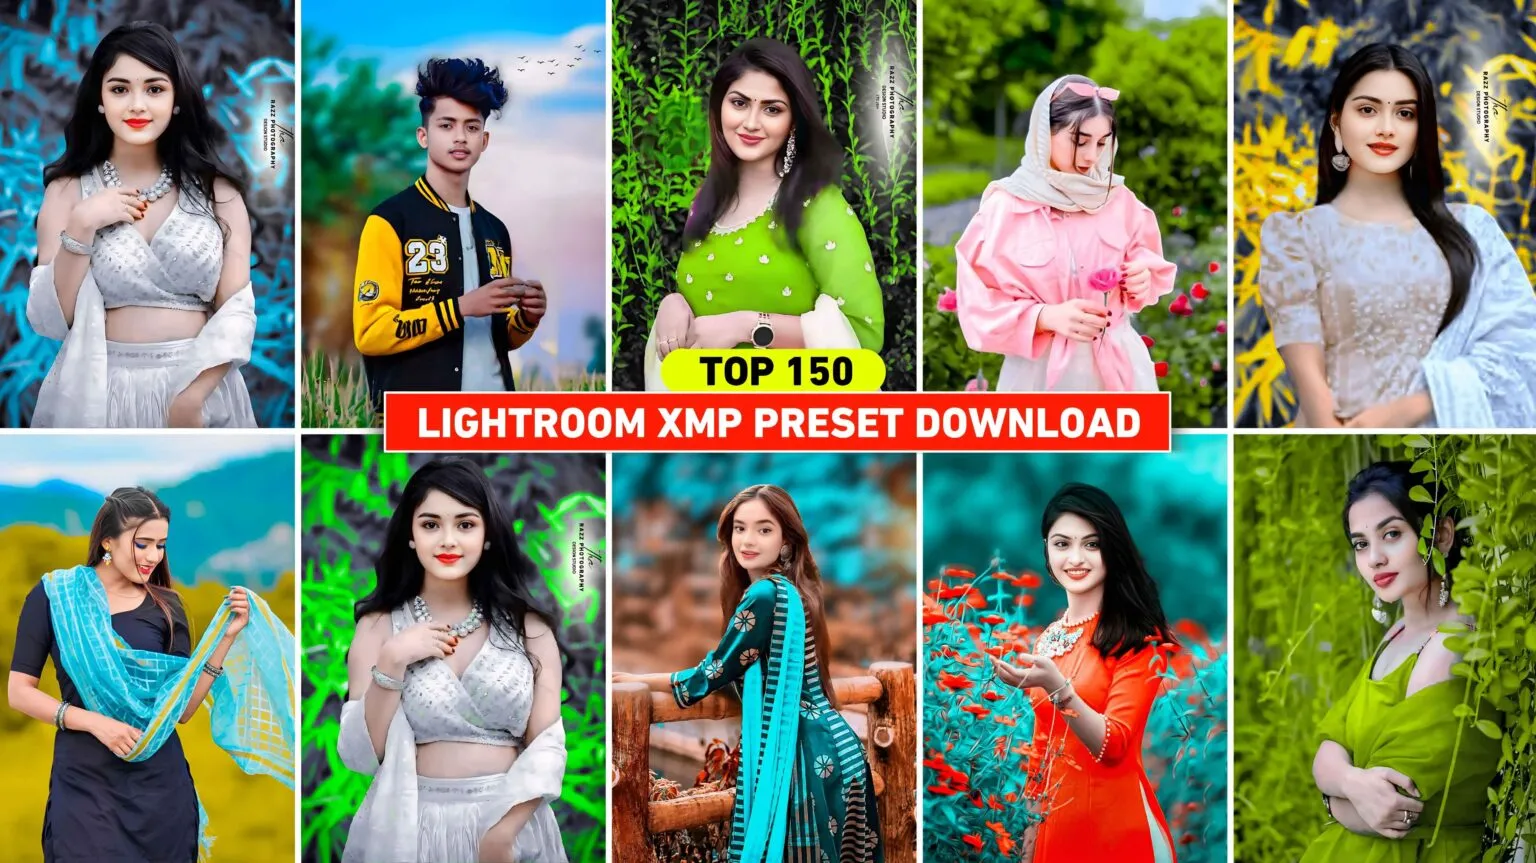
How to Use Lightroom Cinematic Photo Editing Preset
What Makes a Good Cinematic Preset?
Not all presets are the same. Some look too heavy or unnatural.
A good cinematic preset usually has:
- Balanced colors (not too dark, not too bright)
- Natural skin tone
- Soft shadows
- Slight fade effect
- Clean highlights
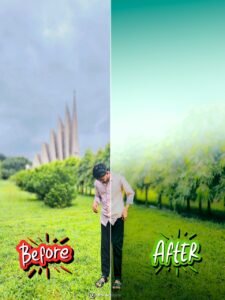
I have seen many presets that look amazing in previews but don’t work well on real photos. So always test before fully using it.
Tips for Better Cinematic Edits
Here are some real-life tips that actually help:
1. Don’t Over Edit
Sometimes people push contrast or saturation too much. That ruins the cinematic feel.
2. Use Good Light Photos
Even the best preset can’t fix a bad lighting photo. Try using natural light photos.
3. Keep Background Simple
Cinematic look works best when background is not too messy.
4. Adjust Skin Tone Carefully
This is important. If skin looks too orange or too grey, fix it manually.
5. Try Different Presets
Not every preset fits every photo. Sometimes you need to try 2–3 options.
Common Mistakes People Make
Many beginners face the same problems:
- Using one preset for every photo
- Not adjusting exposure after applying preset
- Expecting “perfect edit” instantly
- Ignoring lighting in original photo
Sometimes it doesn’t work perfectly, and that’s okay. Editing is more about experimenting.
Why 2026 Lightroom Presets Are Different
New presets in 2026 are becoming smarter. They are designed for modern photography styles.
Now you can see:
- More natural cinematic tones
- Better AI-based color balance
- Cleaner portrait smoothing
- Less fake-looking filters
Many creators are now focusing on realistic editing instead of heavy filters. That’s actually a good thing.
Where You Can Use Cinematic Presets
These presets are not just for fun. People use them everywhere:
- Instagram posts
- Travel photography
- YouTube thumbnails
- Profile pictures
- Portfolio work
Even small edits can change how your photo feels.
Final Thoughts
Lightroom cinematic presets are honestly a game changer for photo editing. You don’t need to be a professional editor anymore. Just a good preset and a little adjustment can turn normal photos into something really eye-catching.
But don’t rely only on presets. Try to understand basic editing too. That helps you improve a lot in the long run.
And yeah, sometimes the result won’t be perfect on the first try. Just tweak it a bit, and you’ll get there.
FAQs
1. What is a Lightroom cinematic preset?
It is a saved editing style that gives photos a movie-like cinematic look with colors, tones, and lighting effects.
2. Do I need a PC to use Lightroom presets?
No, you can use them on mobile too. The Lightroom mobile app supports presets easily.
3. Why does my preset look different on my photo?
Because every photo has different lighting and colors. You need small adjustments after applying the preset.
4 Comments on “Lightroom Cinematic Photo Editing Preset | New LR Photo Edit Preset 2026”